
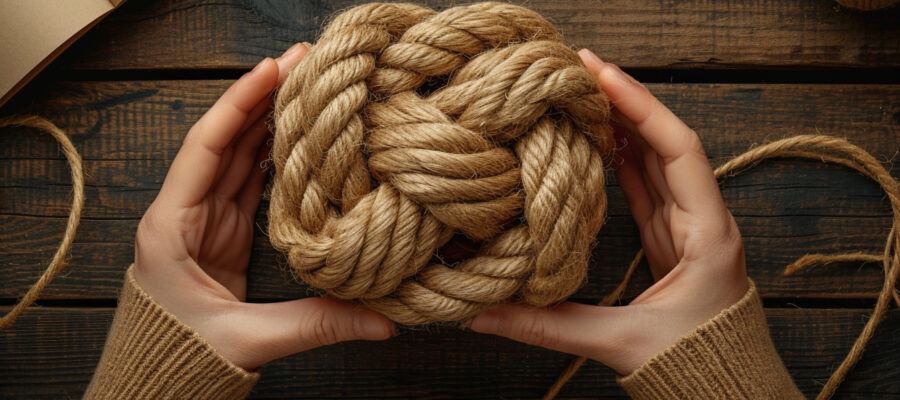
THE Touline Meph It is a very appreciated knot among sailors, but also useful in many other areas. This decorative node allows you to add weight to the end of a rope, which facilitates the area and precision when it was launched. In this content, we will present a simple and detailed tutorial to create a Touline apple, step by step.
Follow the instructions of the video step by step to master this emblematic element of navigating. Whether you are a new novice or expert sailor, this guide will guide you through the passages to create a 1-bit touline apple, adding a touch of marine know-how to your skills. Prepare to explore the world of marine knots with this instructive and practical video.
First step: choose the right equipment
Before starting to create your Apple Toulin, it is essential to choose the right equipment. You will need a cable or a piece of rope, as well as a round object to insert in the center of the knot (for example a wooden ball).
Choose the size of the rope
The size of the rope that uses will determine the size and weight of the final Toulin apple. For this, it is therefore necessary to choose a rope suitable for your specific needs.
Note that a thicker rope will make the knot more difficult, but it will also add solidity and weight to your Toulin apple.
Second step: prepare the earth
After choosing the appropriate equipment, you can start creating your Touline Apple. To do this, follow the instructions of the step.
Leave enough space
Make sure to leave enough space on your rope for the entire Toulin apple, as well as for the object that will be inserted in the center. This can request a little patience and practice before finding the exact amount required.
Third step: to make the central knot
Now that you have prepared the ground, it's time to learn to create the central node around which Toulin's apple is formed.
Node in eight
To start, make a «eight» knot with the cable. The knot must be close enough and well centered to ensure a good solid base for your Touline apple. Do not pull too much at the ends of the cable to prevent the knot from being crushed.
We remember, the node in eight is a basis in the art of creating decorative or functional nodes.
Insert the round object
When the node in eight is built, place the round object (like the wooden ball mentioned above) in the center of the knot. Make sure the object is well kept in place and that it does not move.
Fourth step: for brain the Touline apple
Now that you have made the central knot and insert your round object, it's time to start shaking the correct Touline apple.
Loop shape
Using the cable, it forms a series of loops around the node in eight and the round object. Each cycle must pass under the previous cable and come from above.
The goal here is to maintain a certain tension and regularity in the loops to ensure a good grip completely.
Pass the cable in the previously formed curls
Then continue to pass the cable in the previously formed loops, taking care not to tighten too much to keep the aesthetic of the knot.
This simple technique is ideal for creating original suspensions and adding a natural decorative touch and Boémien.

Gradually tighten the knot
After the Touline apple is completely intertwined, slightly tighten all the curls until a compact and solid knot is obtained.
Fifth step: the Touline apple finalizes
Now you are close to the final result! Here's how to finish your Touline apple so that it is ready to be used or offered as a decoration.
Cuts and burns the ends
To ensure the longevity of your creation, cut and burn the ends of the cable to prevent it from lengthening over time. Do not forget to manage the area well to avoid any burning risk.
Slide a ring or ring to hang it
Finally, you can add a ring or cycle to attack your Touline apple to another element, such as a key or bag. This step is optional and can be adapted according to your specific needs and preferences.
Now you have all the cards in your hand to create a magnificent apple of tour!
Follow this pass -by -pat -pat tutorial and take the time to train to master this technique. You will be able to create a wide range of decorations and accessories useful for yourself or to offer your loved ones.
latest posts published

Thyme – Everything you need to know about Timo

Modern agriculture with the help of industrial drones

Lavender culture. Rules of treatment to obtain a rich harvest

What are the machines that serve to alleviate agricultural work?

What prevention methods should you apply when using the total herbicide?

How many types of fertilizers are there and when do you have to use them?

The complete guide to the preparation of the garden in the cold season

The main agricultural works in July

Fodder Beet – Everything you need to know about its cultivation
